Node.js is an cross-platform, open-source, back-end JavaScript runtime environment that runs on the V8 engine. This allows you to run JavaScript on the server. Node.js runs on various platforms (Windows, Linux, Unix, Mac OS X, etc.) and uses asynchronous programming!.
Node.js runs single-threaded, non-blocking, asynchronous programming, which is very memory efficient. As an asynchronous event-driven JavaScript runtime, Node.js is designed to build scalable network applications. HTTP is a first-class citizen in Node.js, designed with streaming and low latency in mind.
Step 1: Download Node.js Installer
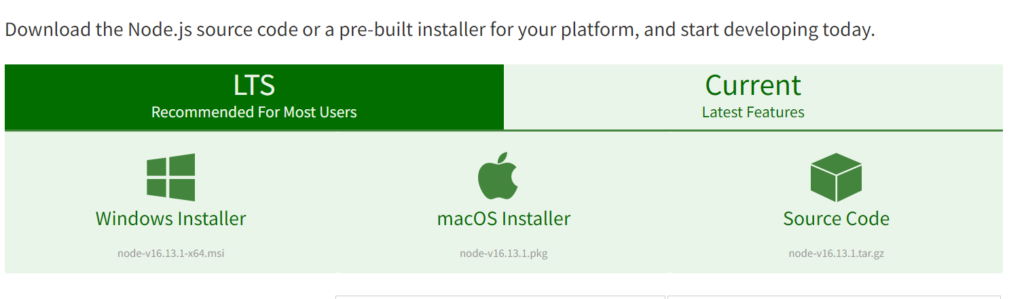
Open your web browser and navigate to https://nodejs.org/en/download/ . Click the Windows Installer button to download the latest default version. An EXE file download on your system.
Step 2: Install Node.js and NPM from Browser
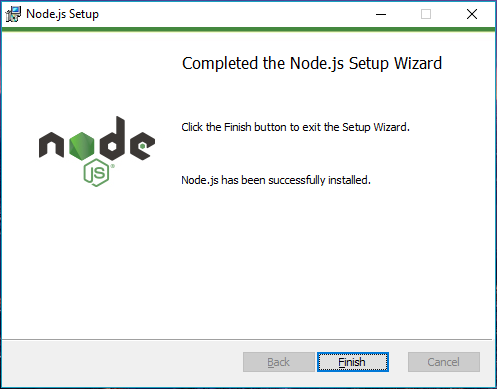
Once the downloading in complete, go to your download path and double click on EXE file to install Node and NPM on your window system. On the next screen, review the license agreement. Click Next if you agree to the terms and install the software. Finally, click the Install button to run the installer. When it finishes, click Finish.
Step 3: Verify Installation
To verify Node and NPM version installed on your system, Open a command prompt (or PowerShell), and enter the following command:
node -v
npm -v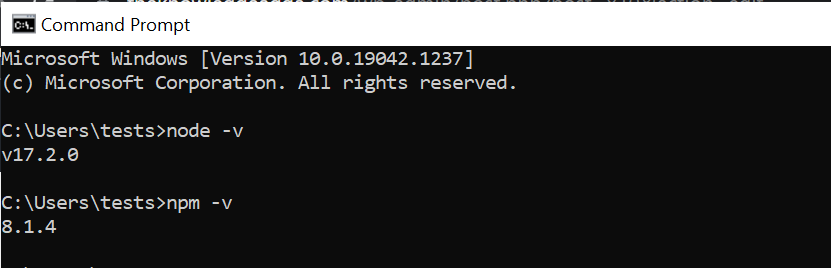
Basic Node.js Usage
First we create a Hello world script to test your Node.js installation. Copy code and Save the file in .js extension.
var http = require('http');
 http.createServer(function (req, res) {
   res.writeHead(200, {'Content-Type': 'text/html'});
   res.end('Hello World!');
 }).listen(4000);
Open the PowerShell, and enter the following:
node your file path\demo.js
Next, open a web browser, and enter the following into the address bar:
http://localhost:4000